
Bed surface
The G1 print bed uses a 6 mm tempered glass plate as the standard print surface. The glass sits on the heated aluminum bed plate. Different materials require different adhesion strategies on this surface.
Standard surface: tempered glass
Section titled “Standard surface: tempered glass”| Parameter | Value |
|---|---|
| Material | Tempered glass |
| Thickness | 6 mm |
| Size | 120 × 120 cm |
- Flat, rigid, dimensionally stable
- Easy to clean
- Gives a smooth bottom face on prints
- PETG bonds extremely strongly to glass without a release agent — can damage the glass when the part is removed
- Requires adhesion spray for most materials to prevent warping
Adhesion by material
Section titled “Adhesion by material”PLA / rPLA
Section titled “PLA / rPLA”- Bed temperature: from the material profile — PLA profiles ship 50–70°C. Lower is often better against warping
- Apply Dimafix, MagiGoo, or a light coat of glue stick
- PLA sticks “like rock” to glass at 40°C with proper spray; when the bed cools below 30°C, parts often release on their own
- If first layers are milky or lifting: the bed is too hot for that grade — come down in steps
- Always use a release spray (Dimafix or Rain-X automotive water repellent spray) — without it, PETG bonds so strongly it can crack the glass when the part is removed
- Bed temperature: the PETG profiles ship 80°C
- Apply spray in a thin, even coat with a paper towel; re-apply when the surface becomes too oily or loses tackiness
- Large flat PETG parts: add 2+ lines of inner + outer brim in the slicer
PP (polypropylene)
Section titled “PP (polypropylene)”- PP is notoriously difficult to adhere; tested solution: use a PP sheet (2 mm) glued to an aluminum plate as the bed surface
- Bed temperature: 80°C
- Standard glass adhesion does not work reliably for PP
Other surfaces
Section titled “Other surfaces”The G1’s bed is tempered glass. That is what the machine is specified on, and what everything else in this wiki assumes.
The glass itself is not special. If a job needs a different one — another thickness, a cut-out, or simply a spare — it can be made independently: any local glazier will cut it, and it costs little. See Replacing the glass.
Customers have printed on other things. Some have had the plate made in glass fibre, some print straight onto wood, some onto a PP sheet so that PP sticks to PP. Those are things people have done on their own machines, not surfaces Ginger Additive supplies, supports or has characterised — adhesion and flatness are yours to work out.
Replacing the glass
Section titled “Replacing the glass”A broken plate is not a spare part you have to order from us. It is ordinary tempered glass, and any local glazier can cut one — cheaply, and usually faster than a shipment would arrive.
| Parameter | Value |
|---|---|
| Material | Tempered glass |
| Size | 120 × 120 cm |
| Thickness | 6 mm |
Give the glazier the exact size: it has to cover the heating mat, not the print area, and tempered glass cannot be cut after tempering — so it must be cut to size before it is toughened.
Surface preparation procedure
Section titled “Surface preparation procedure”This is the official procedure confirmed by the Ginger Additive support video “G1 Bed Level & Prep Surface”:
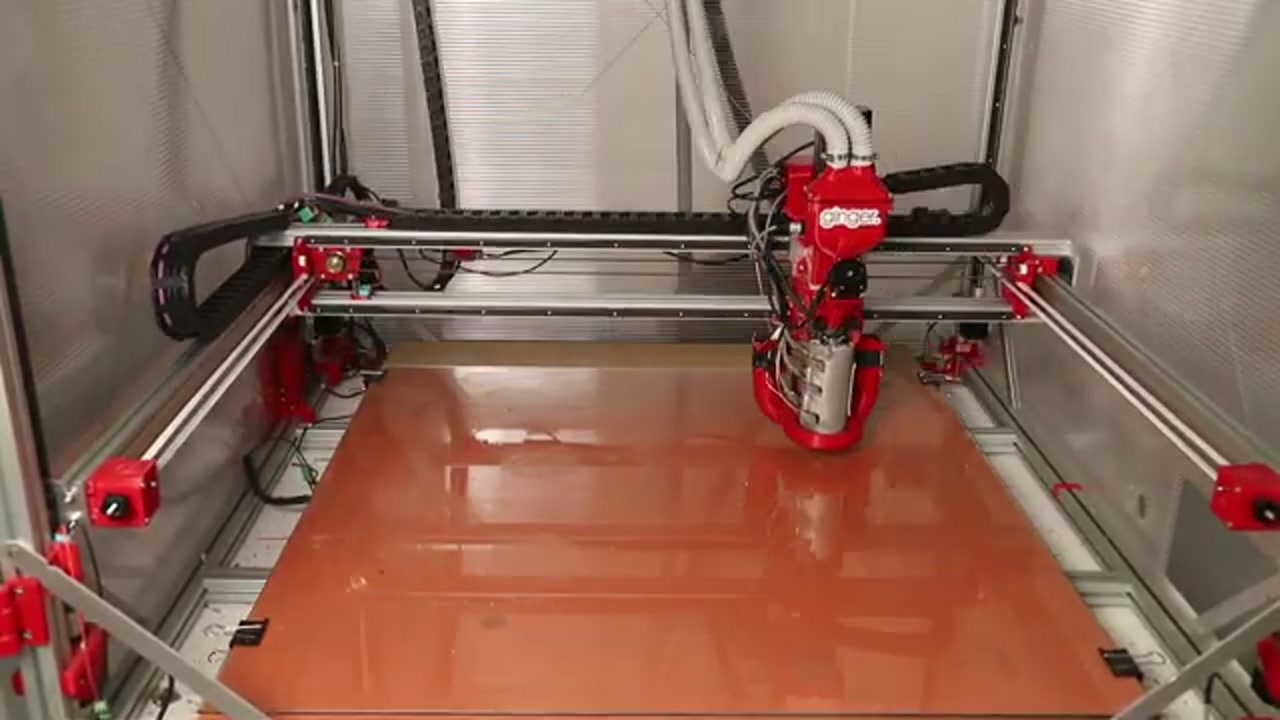
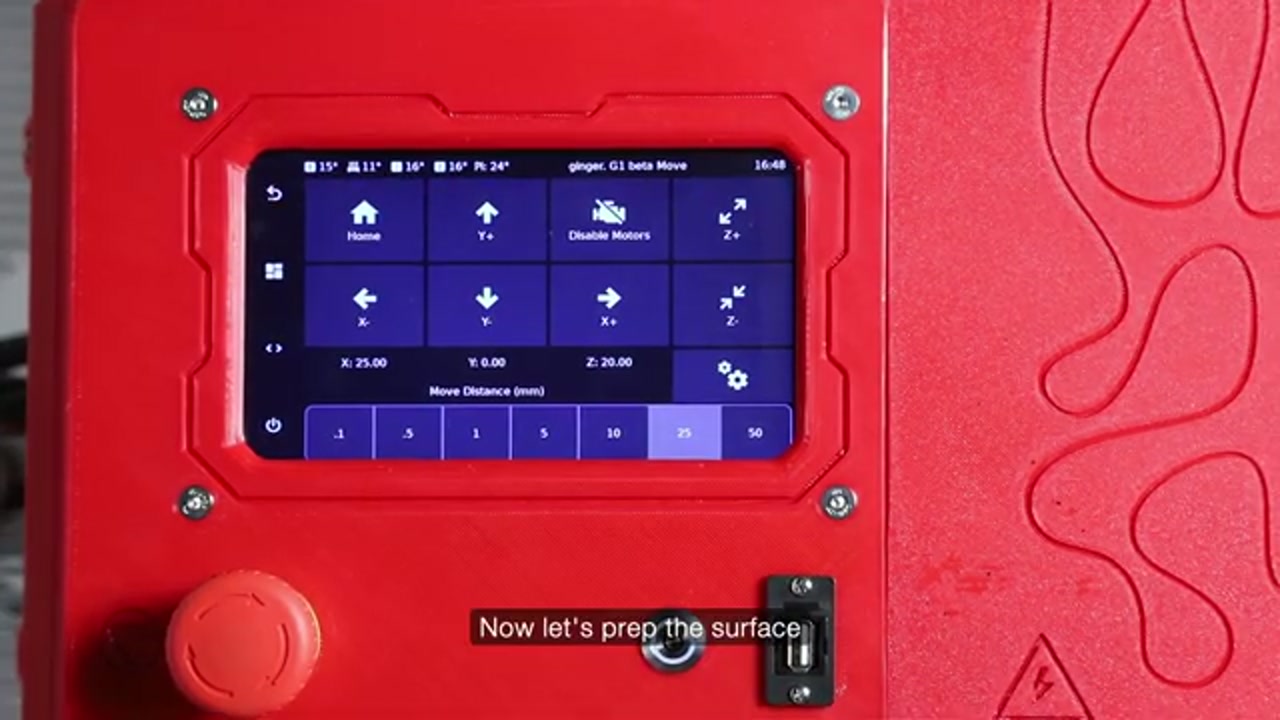
- Move the extruder to the back of the machine using the display Move menu — this frees up space to work on the glass
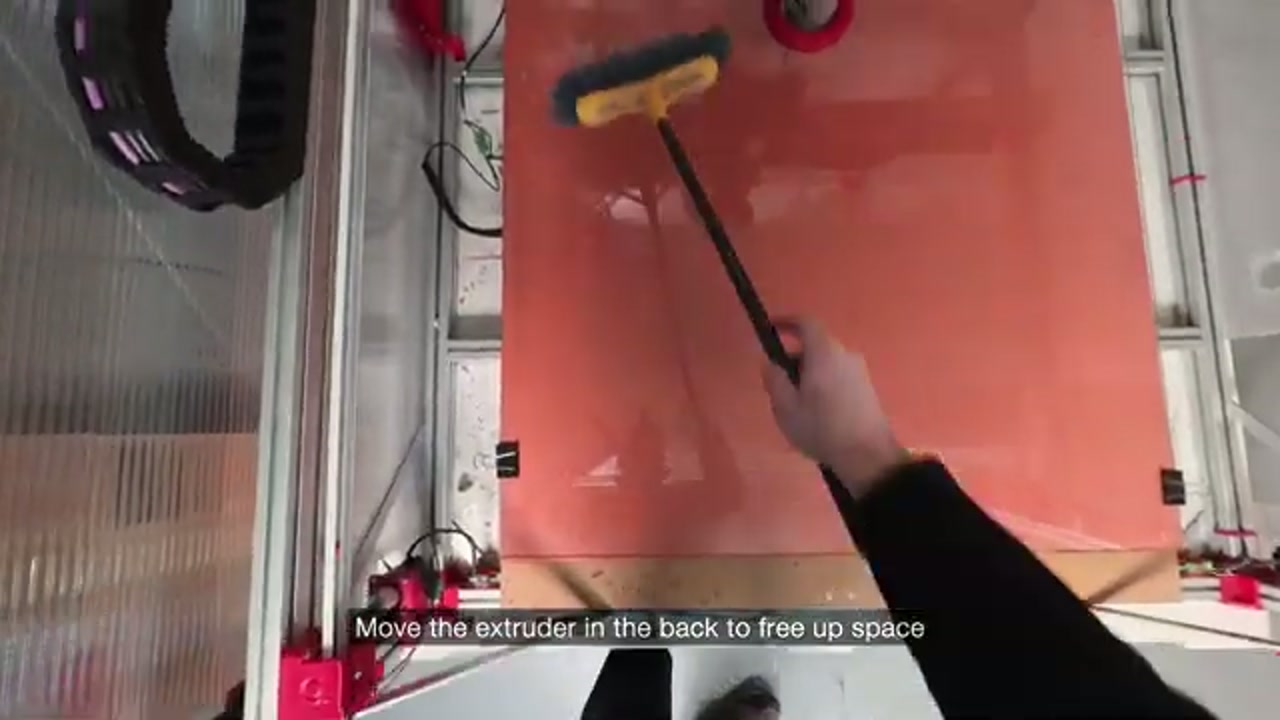
- Scrape off print residue with a plastic spatula (yellow squeegee) — remove any leftover material from the previous print
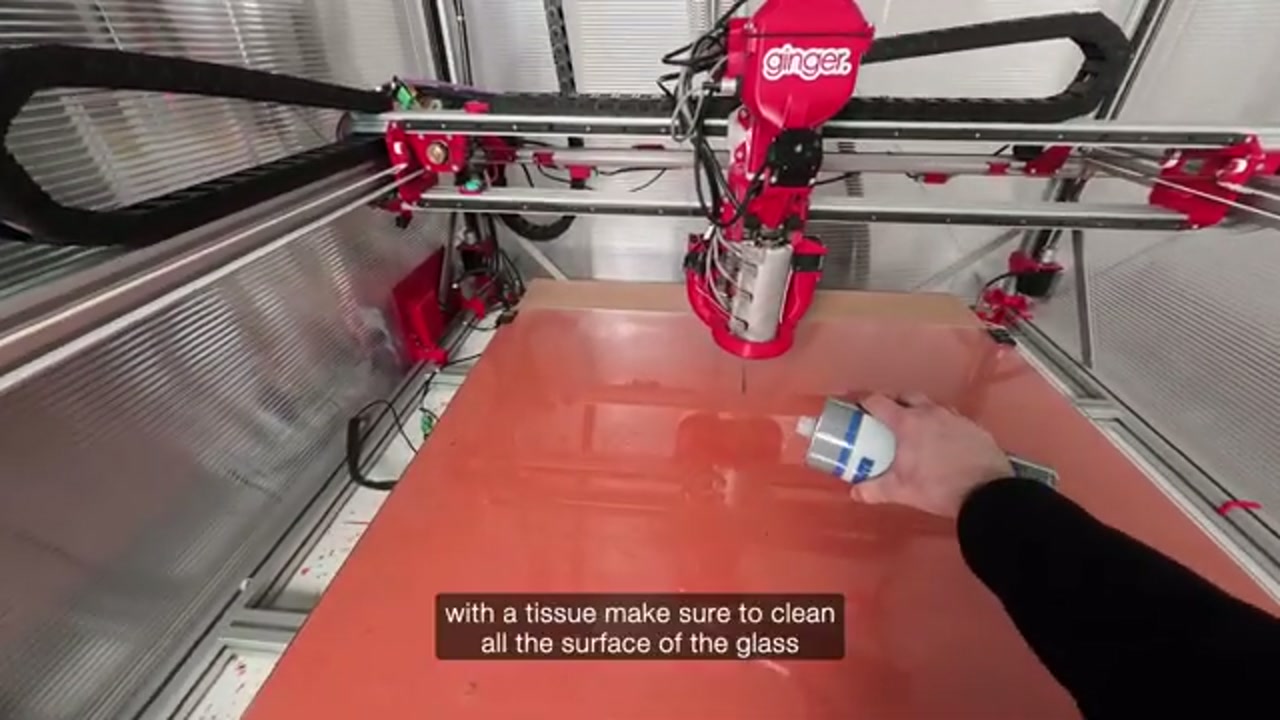
-
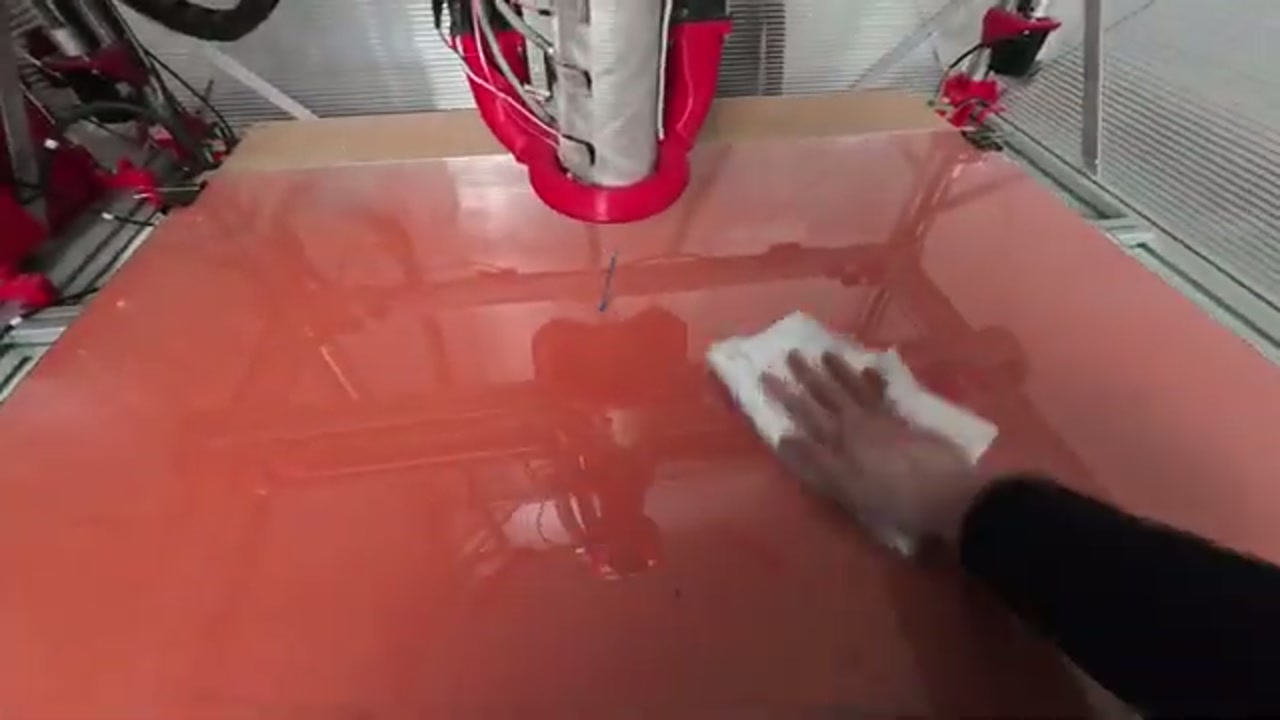
Apply glass cleaner (spray or liquid) over the surface
-
Wipe clean with a cloth or paper towel until the glass is dry and residue-free
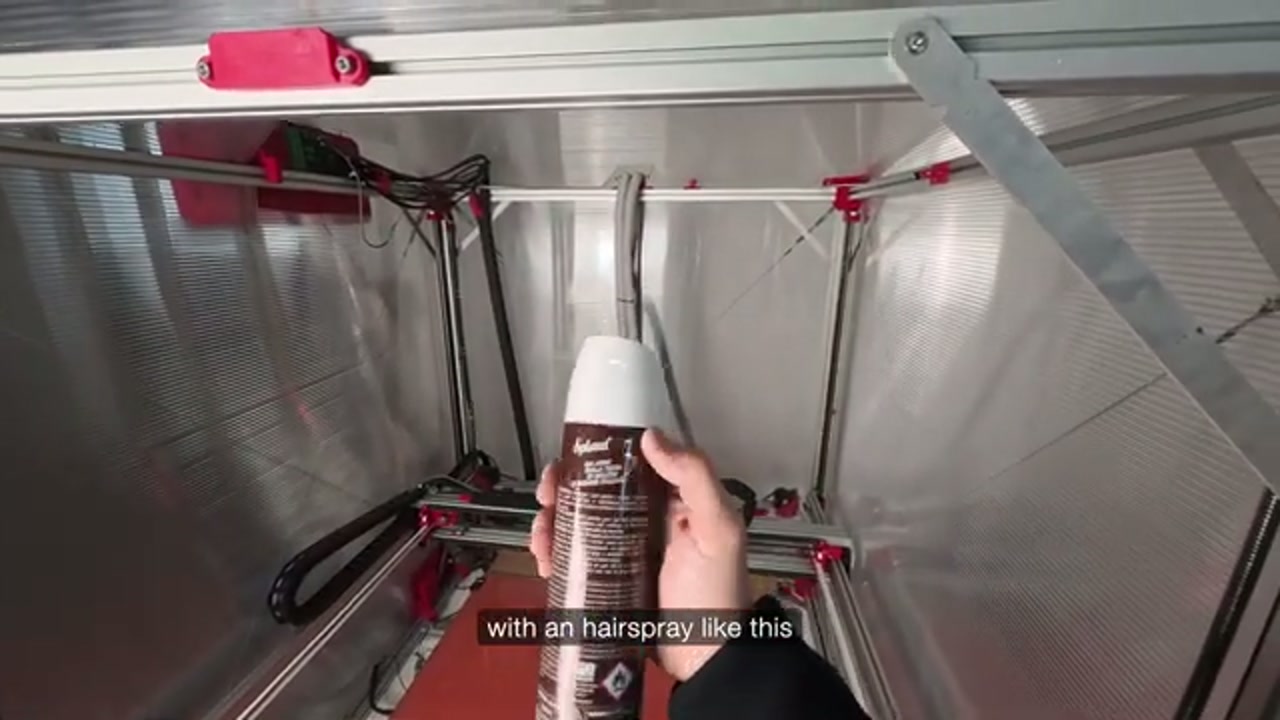
- Apply the correct adhesion product for the material you are printing:
- For PETG: apply RainX (automotive water repellent) as a release agent — prevents the part from bonding too strongly to the glass
- For PLA / rPLA: apply hairspray (lacca spray) as an adhesion promoter — confirmed by official Ginger video
-
Let the product dry before heating the bed — do not spray onto a hot bed
-
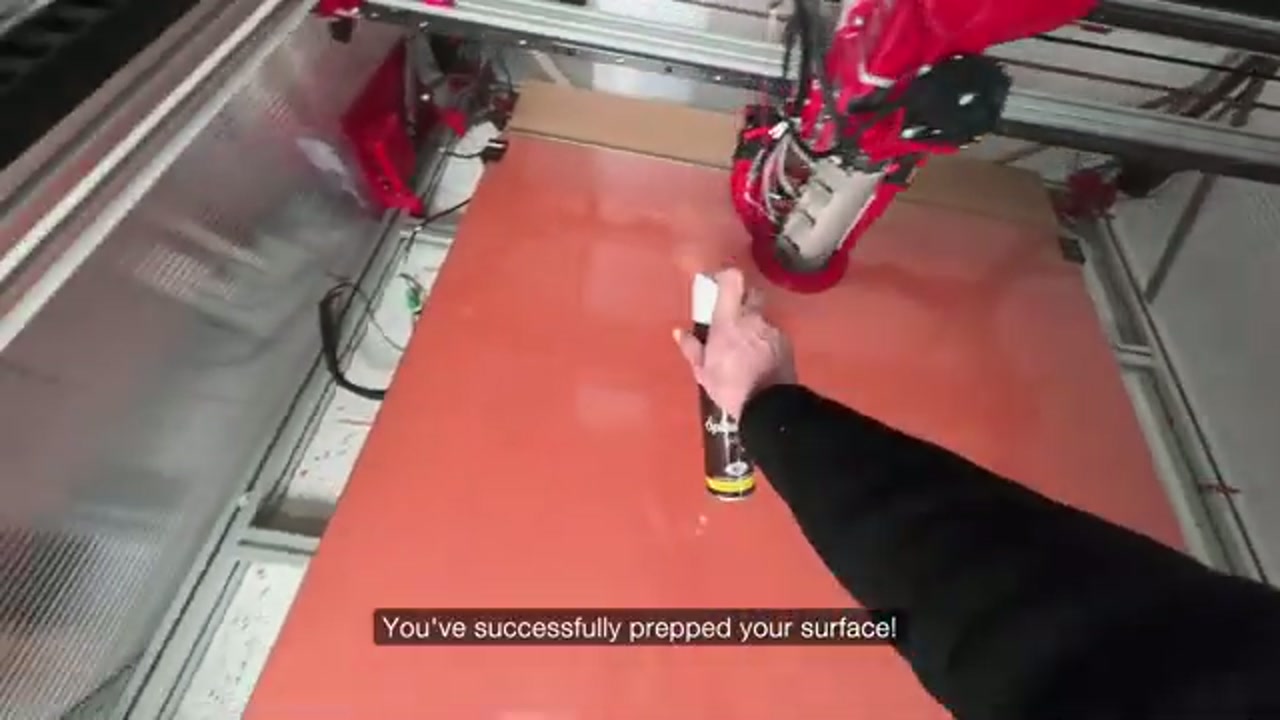
The bed is now ready to print
Cleaning the glass
Section titled “Cleaning the glass”- Clean with isopropyl alcohol (IPA) between prints
- Remove adhesive spray buildup periodically with hot water and a sponge
- Do not use acetone — it can etch the glass surface treatment