
Bed adhesion sprays
Release agents and adhesion promoters used on the G1 build plate. The right product depends on the bed surface (glass, PEI, wood) and the material being printed.
When you need a spray
Section titled “When you need a spray”- Glass bed + PETG → always. PETG bonds to glass hard enough to pull chips out of it when the part is removed. The spray protects the bed, not just the print
- Glass bed + PLA → light spray helps grip on cold first layers
- Any bed + large parts that warp → adhesion promoter
- Switching between materials that need different adhesion strategies
Common products
Section titled “Common products”| Product | Type | Best for |
|---|---|---|
| DimaFix | Temperature-dependent — grips hot, releases cold | The one to use for PETG on glass, and for large parts |
| MagiGoo | Adhesion promoter | Glass / PEI, most polymers |
| 3DLac | Hairspray-style adhesion | PLA, light use |
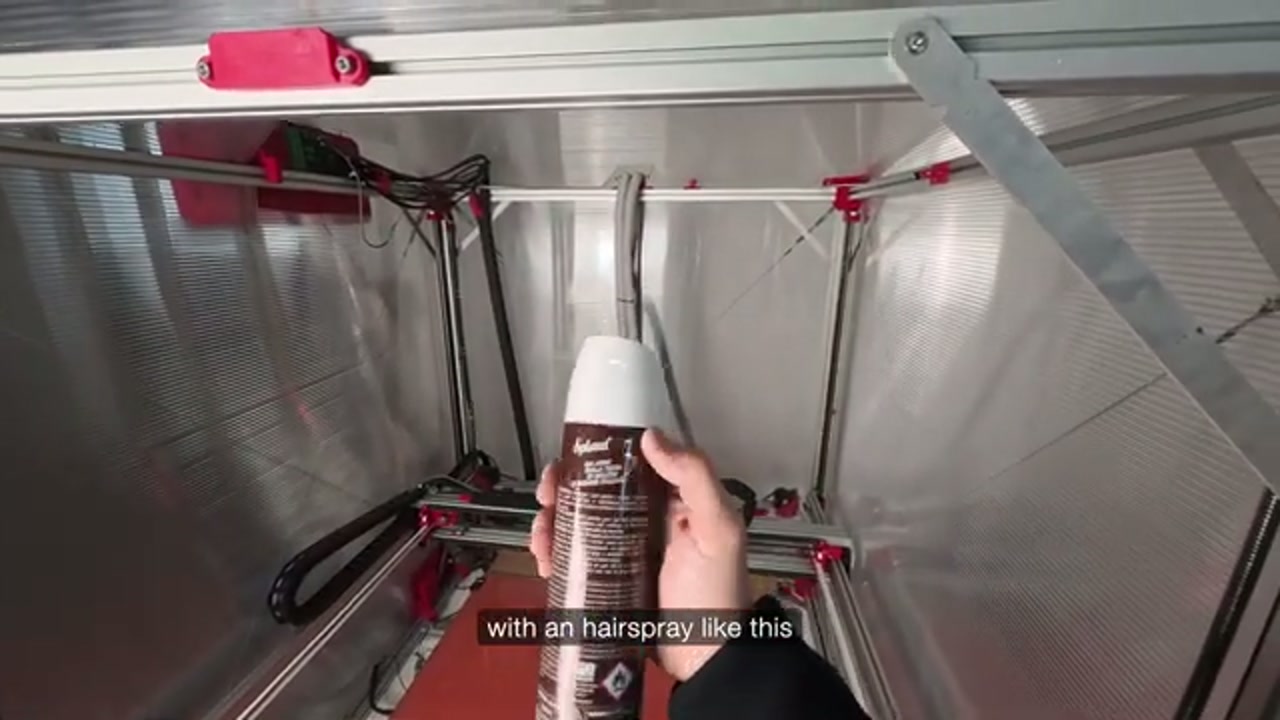
| Hairspray (lacca) | Adhesion promoter | PLA / rPLA on glass — confirmed by official Ginger video |
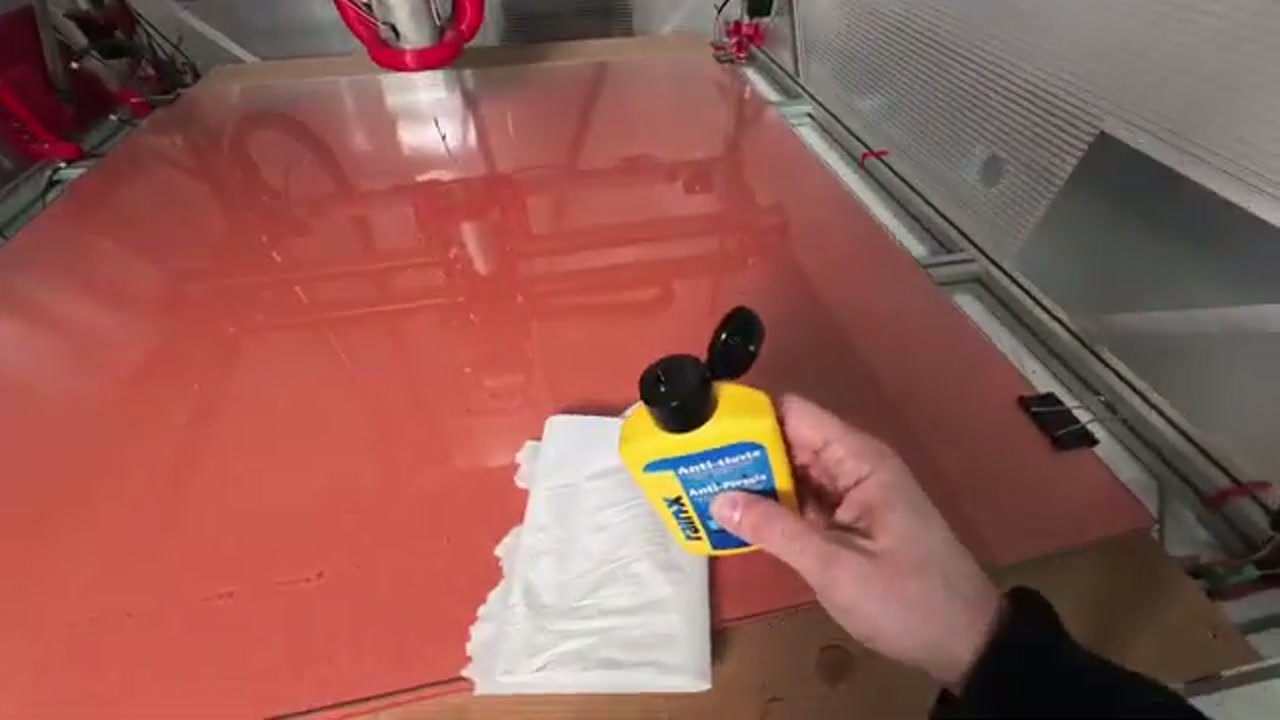
| RainX | Release agent (sticks less) | Glass + PETG, and as the base layer of the combined technique below |
| PVA glue stick | Adhesion promoter | Budget option, glass / PEI |
How to apply
Section titled “How to apply”Adhesion promoter (DimaFix, MagiGoo)
Section titled “Adhesion promoter (DimaFix, MagiGoo)”- Bed cold (room temp)
- Spray a thin, even layer across the print area
- Let dry for ~30 seconds (it goes from wet to a slight dry haze)
- Heat the bed and start printing
- Reapply every few prints — a single application can cover multiple jobs
Hairspray (lacca spray) — for PLA
Section titled “Hairspray (lacca spray) — for PLA”Confirmed by the official Ginger Additive support video as a valid adhesion promoter for PLA on the glass bed:
- Bed cold
- Spray a light, even coat across the print area
- Let dry before heating the bed
- Heat the bed and start printing
Release agent (RainX, similar)
Section titled “Release agent (RainX, similar)”RainX automotive water repellent is the recommended release agent for PETG on glass.
- Bed cold
- Spray very lightly only on areas where parts stick too hard
- Wipe gently with a clean cloth so a thin film remains
- Heat and print
Combined technique: RainX + DimaFix for PETG
Section titled “Combined technique: RainX + DimaFix for PETG”For demanding PETG prints (large surface area, high warp risk), the most reliable approach is a two-product combination:
- Apply RainX first as a base layer (water-repellent prevents PETG bonding too hard to bare glass)
- Let it dry completely
- Apply a thin layer of DimaFix on top (adhesion promoter for secure first layer)
This combination gives better control than either product alone: parts release cleanly when cold but adhere reliably during printing.
Cleaning the bed between products
Section titled “Cleaning the bed between products”When switching between sprays:
- Bed cold
- Wipe with isopropyl alcohol (≥ 90%) and a clean microfiber cloth
- For stubborn build-up, use warm soapy water, then dry, then alcohol
- Apply the new product on a clean dry bed
The bed is glass
Section titled “The bed is glass”The G1 ships with tempered glass, and that is the surface these products are for. It takes any of them, and cleans up with alcohol.
The two cases that matter, both PETG:
- PETG on bare glass can chip it when the part comes off. Put a layer down first — DimaFix is the one to reach for
- Wet PETG grips harder still. It has broken plates outright, not merely chipped them. Dry it, and still lay down a coat
If a plate does break, it is a cheap thing to replace locally — see Bed surface.
Common issues
Section titled “Common issues”- Print sticks too hard, can’t release → use a release agent, or wait for the bed to cool fully before removal
- Print lifts mid-print (warping) → use an adhesion promoter, increase bed temp, add a brim
- Inconsistent adhesion across the bed → bed not flat, mesh leveling needed; see Z offset and first layer
- Build-up of old product → clean with alcohol, reapply fresh
How to prevent adhesion problems
Section titled “How to prevent adhesion problems”- Choose the right product for your bed + material combination
- Apply on a cold, clean bed — never spray a hot bed (uneven, can damage surface)
- Reapply periodically rather than printing on a depleted layer
- Tune Z offset correctly first — most “adhesion problems” are actually first-layer height
- Most adhesion complaints are solved by (a) correct Z offset then (b) right spray — in that order
- DimaFix is a popular default for production users