
Transporting the G1
Disassembling and transporting the G1.
When to use this procedure
Section titled “When to use this procedure”- Moving the printer to a different location (workshop, trade show, customer site)
- Shipping the printer back to Ginger Additive for service
- Storing the printer for an extended period
What stays assembled
Section titled “What stays assembled”Some parts do not need to be removed:
- Bed heater — remains attached to the bed; do not disconnect its wiring
- Internal cabling — wiring harnesses stay routed inside the frame
- Linear rails — do not remove carriages from rails
- Electronics enclosure — remains mounted
Disassembly
Section titled “Disassembly”Not documented yet. The teardown order for a machine this heavy has to be confirmed against how it is actually done, and it has not been — so rather than publish steps nobody has checked, this page does not carry them.
Contact Ginger Additive support before taking a G1 apart for transport.
What is on this page instead is the part that is certain: what stays assembled, how to pack it, and what has to be recalibrated when it arrives.
Packing
Section titled “Packing”-
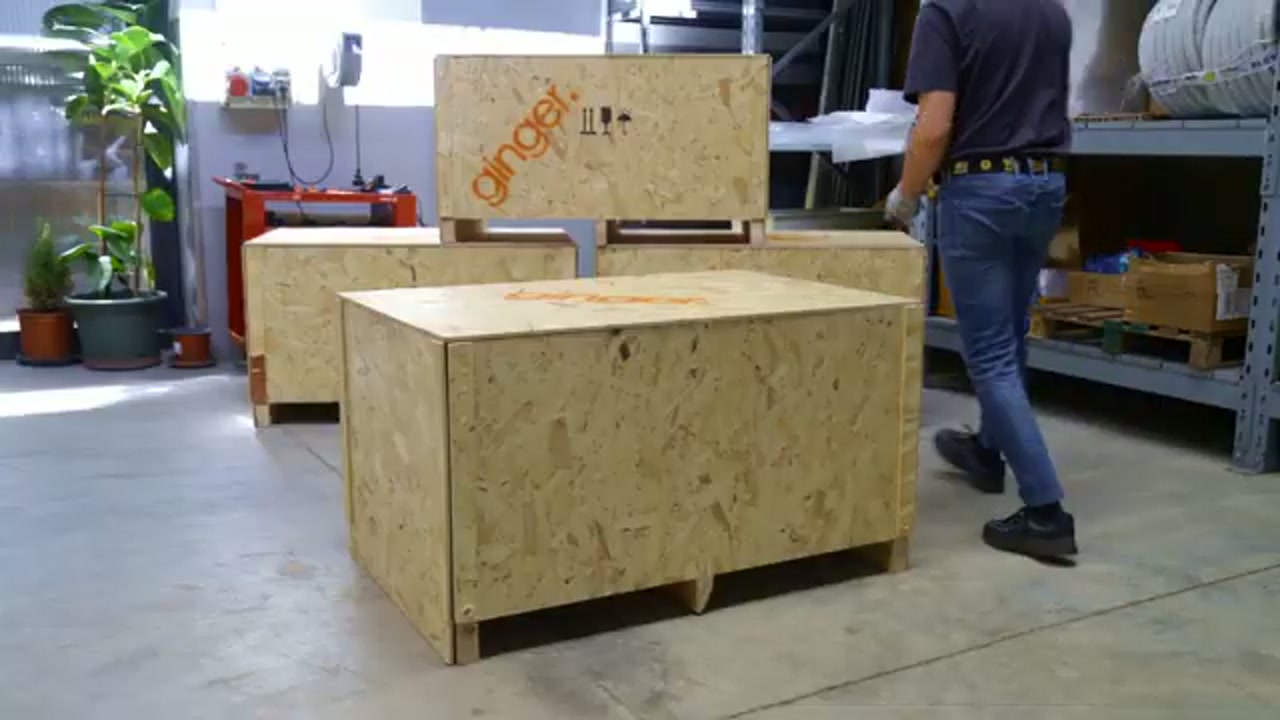
Use the original OSB shipping crate if available — it is the safest option
-
Original crate has foam inserts cut to fit each sub-assembly
-
Screws and small hardware are typically stored in a bag inside the crate lid
-
If the original crate is not available:
- Wrap each sub-assembly in bubble wrap (at least 2 layers)
- Pack in a rigid box with foam padding on all sides
- Mark the box “FRAGILE — DO NOT LAY FLAT” and indicate the correct orientation
After reassembly
Section titled “After reassembly”After transport and reassembly, always perform these steps before printing:
- Check all connectors — vibration during transport can loosen plugs; inspect the extruder board, thermistors, and heater band connectors
- Bed leveling — run the full bed leveling procedure; the mesh will have changed
- Z offset — re-calibrate the Z offset (first layer height); see Z offset and first layer
- Test extrusion — heat the extruder and do a short manual extrusion before starting a print
- Check belt tension — confirm belts are still properly tensioned; see Belt and pulley mechanical issues