
Belts and pulleys
The G1 is a Cartesian machine and every axis is belt driven. There is no chain drive anywhere on it.
Layout
Section titled “Layout”| Axis | Belts |
|---|---|
| X | One GT2 belt |
| Y | Two GT2 belts — one per Y motor, left and right |
Components
Section titled “Components”- GT2 timing belts
- Drive pulleys on the stepper motor shafts
- Idler pulleys at the opposite ends
- Belt tensioners
Specification
Section titled “Specification”GT2, 2 mm pitch, fibreglass reinforced.
Signs of belt issues
Section titled “Signs of belt issues”- Layer shift during fast moves — in X or Y, depending on which belt
- Rounded corners that should be sharp
- Clicking or clunking during moves
- Dimensional inaccuracy on the affected axis
Tensioning
Section titled “Tensioning”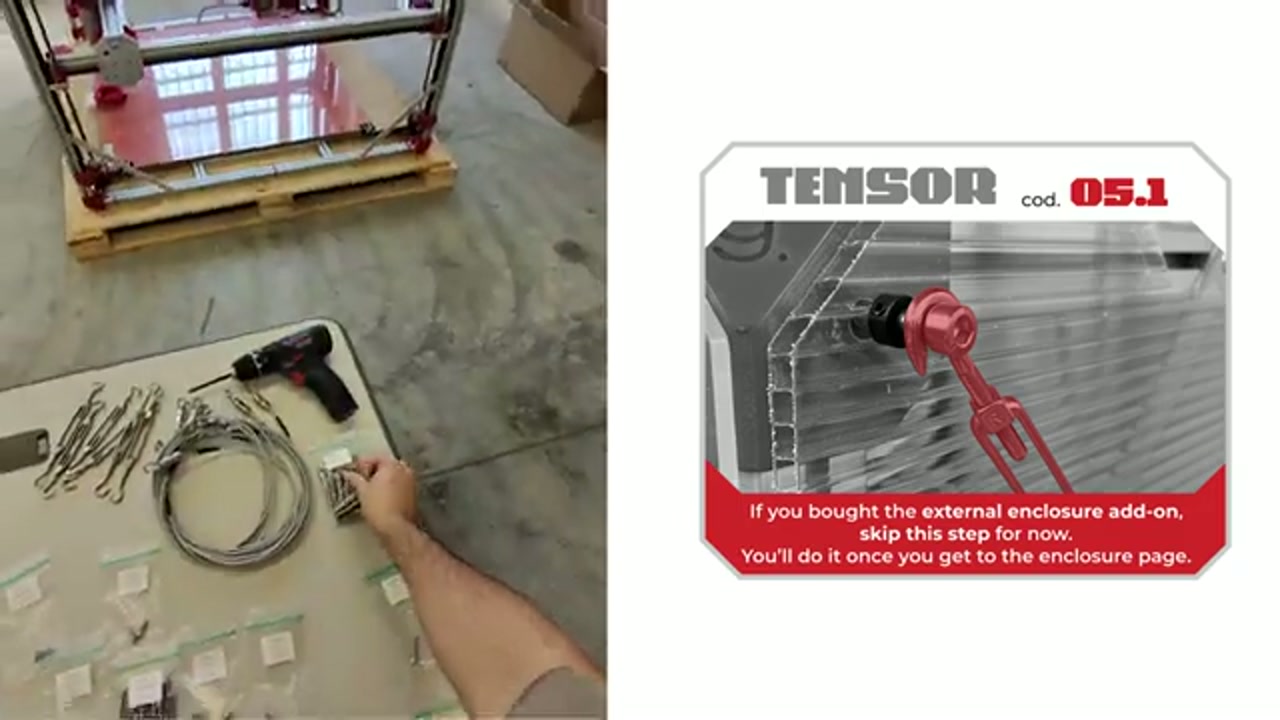
The tensioner is step 1.6 of the assembly manual. It carries one caveat worth knowing: on a machine with the external enclosure add-on the tensioners go on after the enclosure, not before.
See Belt and pulley mechanical issues for the full tensioning procedure. In brief:
- Power off the machine
- Locate the tensioner at the idler end of the affected belt
- Adjust in small increments (¼ turn)
- Verify by hand-moving the axis — smooth, no binding, no deflection
Pulleys
Section titled “Pulleys”The pulleys that wear are the idlers, not the ones on the motors.
| Pulley | Fixing | Wear |
|---|---|---|
| Drive (on the motor shaft) | Key + grub screw | Does not slip |
| Idler (free-running) | — | The internal bearing is the part that wears out |
So when a pulley is the problem, it is an idler bearing, and the fix is to replace the pulley.
Maintenance
Section titled “Maintenance”Belts and idler pulleys are moving parts and are part of routine machine maintenance — unlike most of the feeding system, which is only opened when something goes wrong.
What that covers:
- Belt tension on X and both Y belts
- Belt condition — fraying is the failure mode that drove the change to fibreglass, so look at the cords, not only the teeth
- Idler pulleys — the free-running ones, whose internal bearing is the part that actually wears
Belt tension is judged by feel, not to a measured figure — see Belt and pulley mechanical issues.