
Hopper cleaning
The hopper is not a scheduled-maintenance item. There is no weekly or monthly routine to follow — you open it when something happens, not on a calendar.
When to clean
Section titled “When to clean”There is really only one case:
You change material and notice the new one is contaminated with the previous one. Then clean the hopper out before continuing.
The auger is a separate case — see Cleaning the auger below. It only needs cleaning if you run powder or liquid masterbatch.
What you need
Section titled “What you need”- Dry lint-free cloth
- Soft brush
- Compressed air (optional)
- Hex key for the 4 stepper screws, only if you are cleaning the auger
Cleaning the hopper
Section titled “Cleaning the hopper”- Stop any active print and let the feeding cycle finish
- Remove the remaining pellets from the hopper
- Brush and wipe the interior walls with a dry cloth
- Reload the new material and run a short purge before printing — see Material change and purge
Cleaning the auger
Section titled “Cleaning the auger”Only needed when running powder or liquid masterbatch. Otherwise the auger does not need cleaning.
- Undo the 4 screws holding the E1 stepper to the hopper (part E04)
- The auger comes out easily, still attached to the motor
- Clean it
- Refit the motor and the 4 screws
The level probe
Section titled “The level probe”The probe is a capacitive proximity sensor threaded into the side wall of the hopper. It reads the pellets through the wall — there is no lens or optical face inside the hopper to wipe.
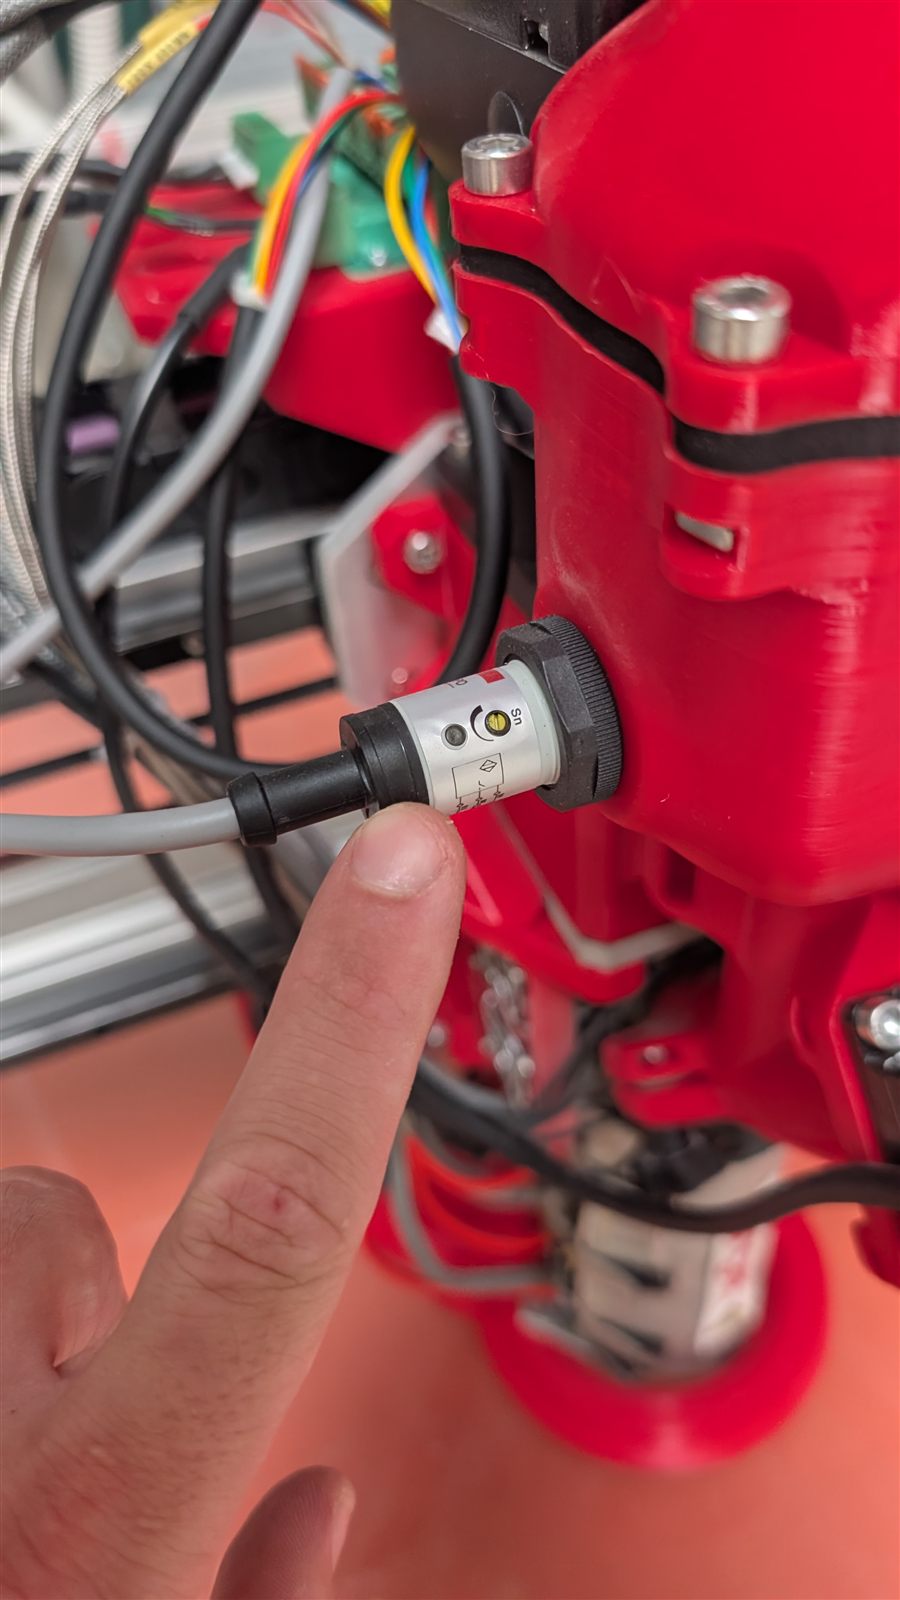
If the probe is misbehaving, the fault is a loose connector, not dirt. See Level probe and the feeding cycle and Hopper suction problems.
Related notes
Section titled “Related notes”- Hopper — component description, probe and feeding cycle
- Material change and purge — full material switch procedure
- Hopper suction problems — when material does not reach the hopper
- Loading pellets — refilling after cleaning
- Liquid Masterbatch — the case that makes auger cleaning necessary