
Z lead screws
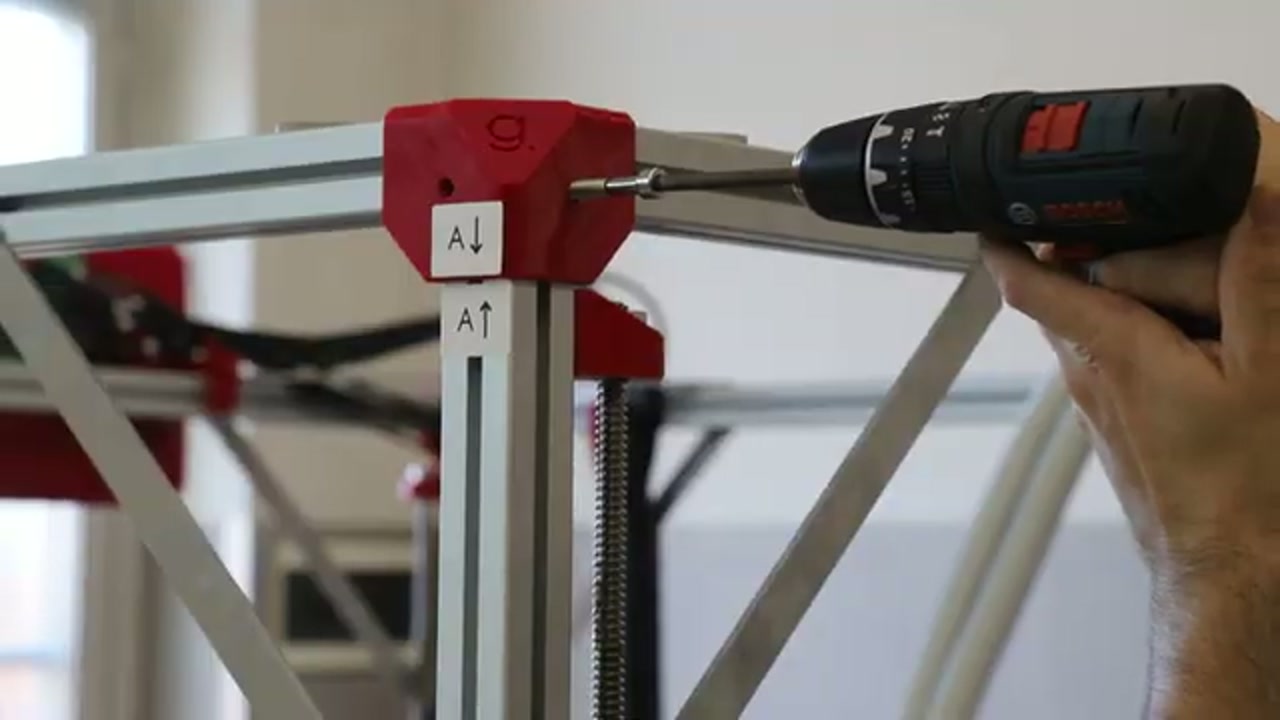
The G1 uses four lead screws (threaded rods) to drive the Z axis — the vertical motion of the extruder.
- Convert rotary motor motion to precise vertical movement
- Maintain extruder position under gravity
- Drive the auto-leveling mesh (fast Z moves during the probe sequence)
Common symptoms requiring attention
Section titled “Common symptoms requiring attention”Squeaking or clicking during Z moves
Section titled “Squeaking or clicking during Z moves”Cause: dry lead screws — the threads have run out of grease.
This is normal after roughly 4 months of regular use.
Fix: apply solid screw grease (not liquid oil or WD-40):
- Use a white lithium grease, PTFE grease, or dedicated lead-screw grease
- Apply a small amount to the length of the screw with a cloth or brush
- Run the Z axis up and down several times to distribute the grease
- Wipe off any excess that drips onto the bed or frame
Z collar clicking during bed leveling
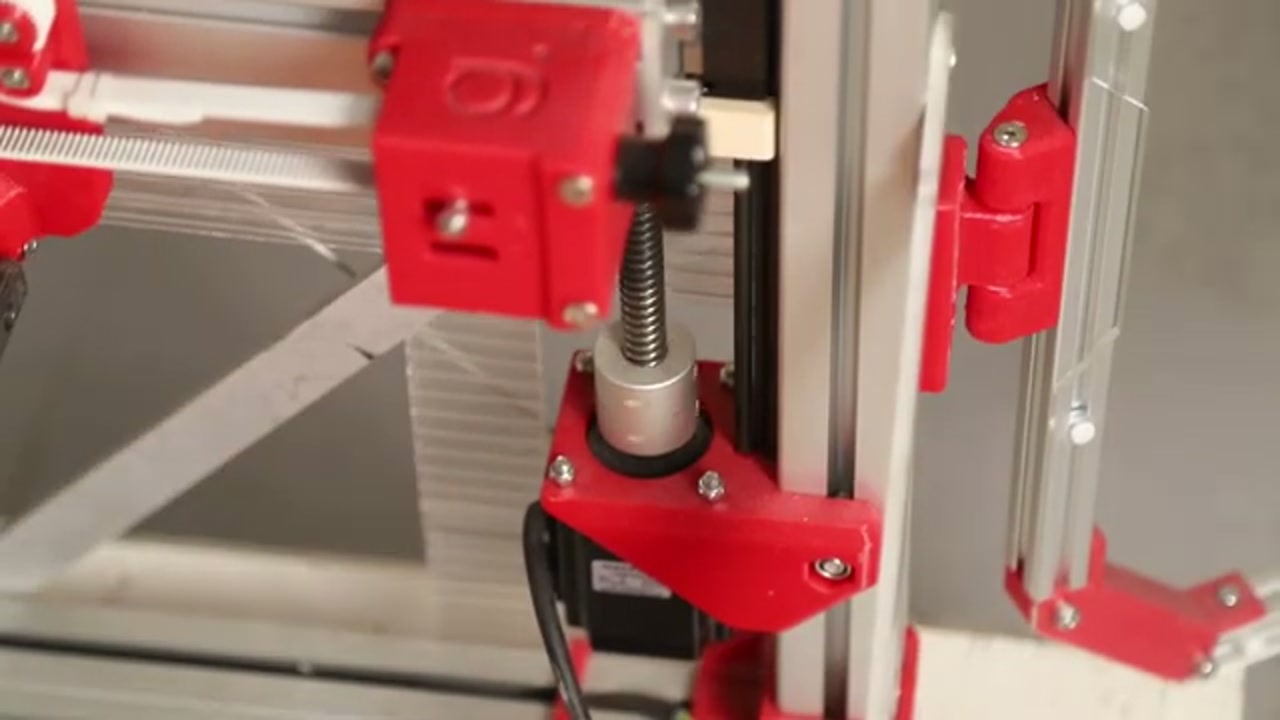
Section titled “Z collar clicking during bed leveling”Symptom: clicking sound from one of the top Z screw supports during fast Z moves (especially during the mesh bed leveling sequence).
Cause: the locking collar at the top of the lead screw is rubbing — it sits too low, so the screw hits it during travel.
Fix:
- Locate the collar at the top of the lead screw (black ring with a grub screw)
- Loosen the grub screw
- Raise the collar by ~1 mm
- Re-tighten the grub screw
- Test with a manual Z home
Extruder pushes hard into the bed at homing
Section titled “Extruder pushes hard into the bed at homing”Cause: solidified plastic left under the nozzle. During homing, the probe must touch the bed — but if a hardened blob under the nozzle reaches the bed first, the probe never triggers. The Z axis keeps driving down looking for contact, the nozzle presses into the bed, and the four Z carriages get knocked out of calibration.
Fix:
- Before homing, always check the nozzle tip is clean — heat the nozzle and remove any solidified plastic residue
- If the nozzle is already close to the bed when the printer starts: raise it manually (Mainsail → Move → Z+) before pressing Home
- If the carriages have been knocked out of sync, bed levelling will not put them back. The four Z motors run from a single driver, so the firmware cannot move one column relative to another — it can only map the bed as it finds it. Realigning the columns is a mechanical job; contact Ginger Additive support. Once the gantry is square again, recalibrate Z offset and first layer
Maintenance schedule
Section titled “Maintenance schedule”| Interval | Action |
|---|---|
| Every ~4 months | Apply solid grease to lead screws |
| Every 6–12 months | Check collar positions, check belt tension |
| When noise appears | Grease immediately |
Related notes
Section titled “Related notes”- Belt and pulley mechanical issues — XY motion system maintenance
- Z offset and first layer — Z calibration after maintenance
- Bed leveling system — auto-leveling probe